

Creating A Raised Wattle Vegetable Garden

Gardening in California was so easy it was embarrassing. You just scattered some seeds to the wind & a bounty would erupt from the Earth as if by magic. Screwing it up just wasn’t possible, even in the hands of a novice gardener like myself.
So moving zones to a place where there are actual frosts & wicked heat & legit wildlife traipsing about the yard has been intimidating. Much as I missed having fresh lettuce & herbs on hand all the time (lord, we were spoiled), I wasn’t sure my Basic B gardening skills could hack a southern garden situation.
But there was this forlorn patch of dirt in our rear garden where we’d ripped out (in a fit of obvious insanity) LIMELIGHT HYDRANGEAS several years ago & then proceeded to ignore. It was muddy & sad & simply begging for a little summer garden. Because all roads lead back to my favorite magazine (Instagram), I found myself struck by the lovely raised wattle beds in interior designer, Alex Yeske’s, garden. Their English countryside vibe spoke to my soul, I tell you.
So rather impulsively, I ordered two of the Willow Raised Bed Kits that Alex recomended. (To note: you can get these kits on Amazon, but the selection is rather limited compared to what you can select shopping directly from Master Garden Products.) When the kits arrived, I was so intimidated I didn’t even open the box & hid the whole lot from myself in our garden shed. My husband didn’t even bat an eye. (I start a LOT of projects.)
But with my children’s summer break came hours upon hours of unscheduled time to be filled. My ten year-old was driving me up a wall, if I’m being honest. There was a lot of loafing about & snacking & asking for screen time he knew perfectly well I wasn’t going to grant so why on Earth did he keep asking (!). What we were in desperate need of (other than summer camp beginning immediately) was a project.
So it’s a good thing Past Me fancied herself a Southern Gardener, because building a summer vegetable garden was exactly the sort of physical, outdoors, kid-friendly project Current Me needed. Because I’m not insane & also have other things going on, we divided the project up into manageable chunks over the course of four day. (I highly recommend this.)

Day 1: Assembly, which is shockingly easy given that I am not at all handy & my ten year-old assistant was basically just in it for the rubber mallet. You lay out your willow wall pieces, drive a stake into the corners & then zip tie the willow siding to the stakes. Everything you need (other than the mallet) is included in the Willow Bed Kit. Easy peasy.
And just an FYI, the terms “willow” and “wattle” are used interchangeably here because I am being casual. If I were not, I would explain that “wattle” is the technical term for the material made from woven willow (or other branches) that can be used for fencing, garden structures like so, or even furniture. The more you know!
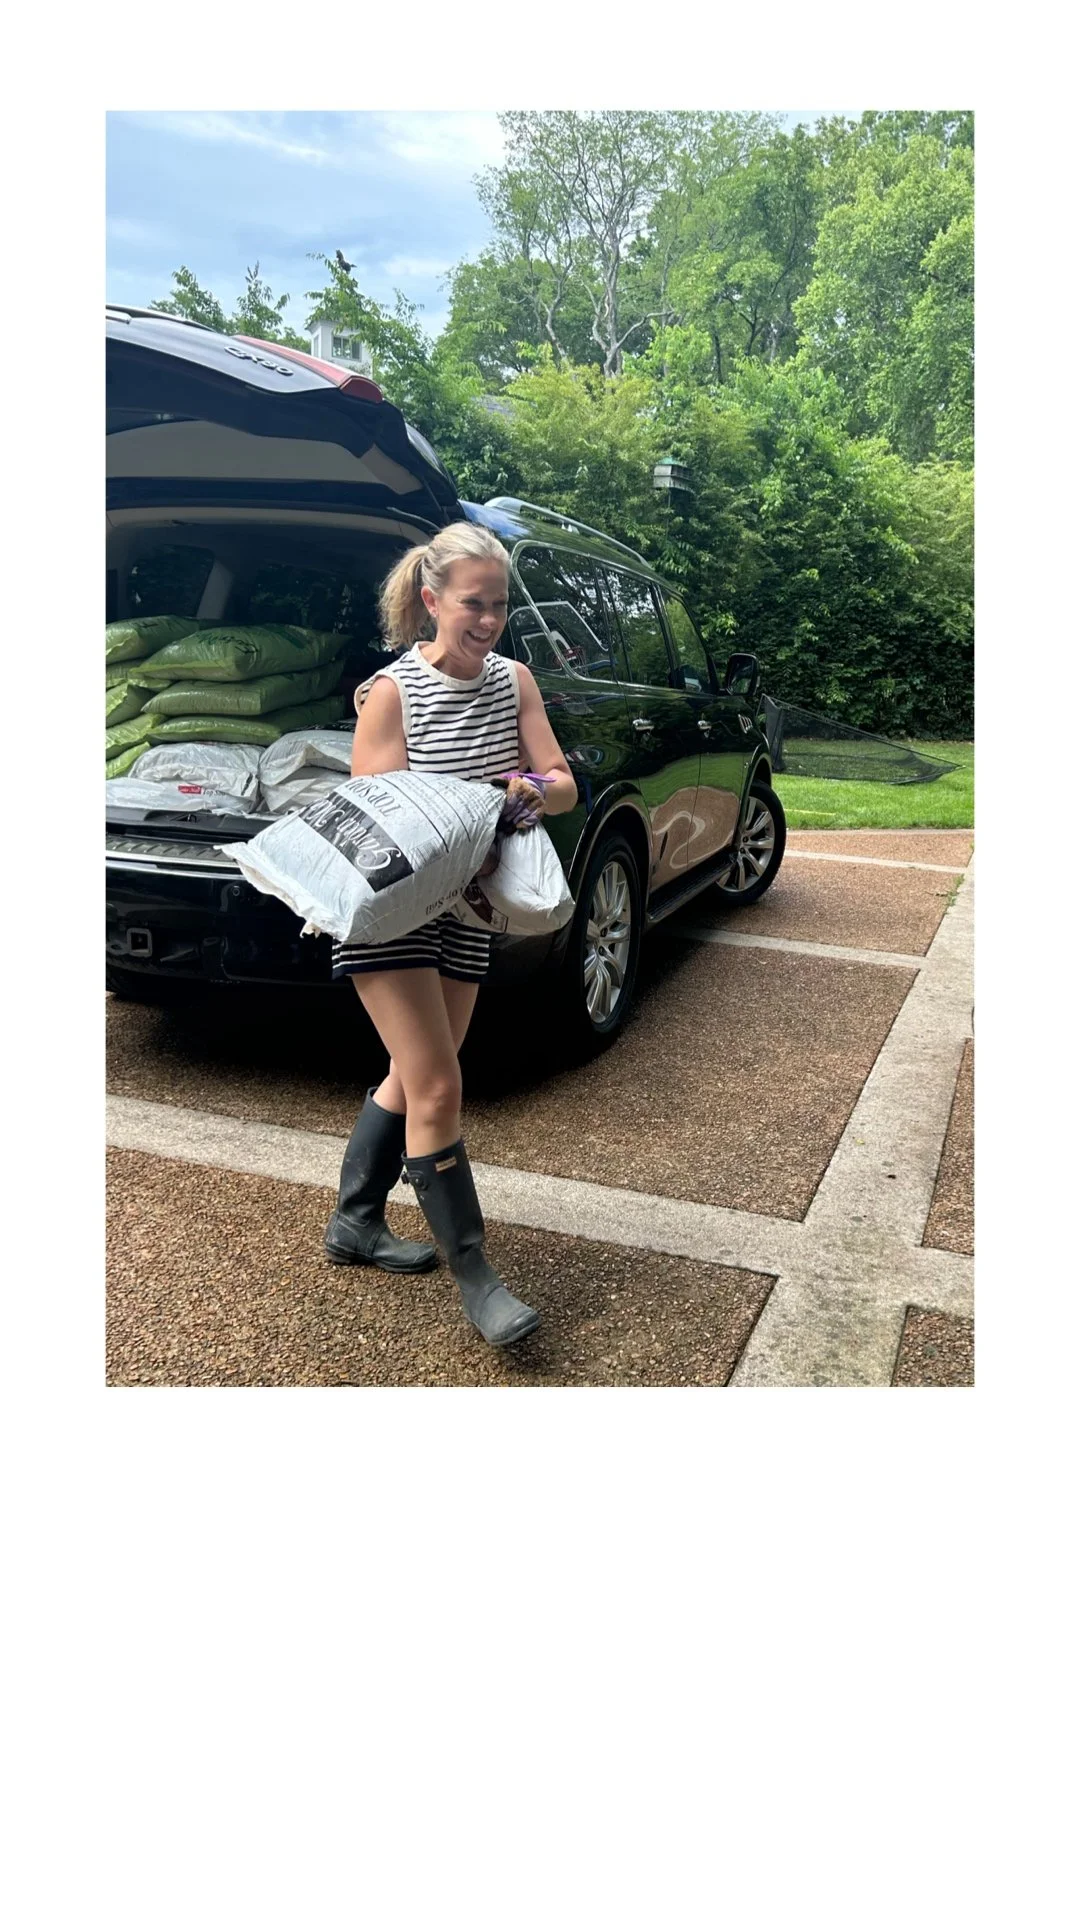
Day 2: Line & Fill, the hardest & least glamorous part of the job? The bags are heavy & the work is dirty, so it was basically the perfect job for a tween boy. We lined the bottoms of the beds with Greenscapes Landscape Fabric secured with landscape pins. Then we loaded the beds with a less costly topsoil on the bottom half and then a premium topsoil on the top half, mixing it all up afterwards by hand. (To note: there are MANY opinions about raised bed soil, so go down that rabbit hole if you so choose. I simply cannot, so I just trust the guys at my local garden center.)

Day 3: Plant Shopping, which let’s be honest, is the really fun part. I’ve grown tomatoes, peppers & herbs successfully before, so it seemed wise to go with those. My sons also talked me into a couple of berry bushes, which may get gobbled up by deer & rabbits, but the boys were so tickled by the notion I figured we’d just try & see. Fingers decidedly crossed.

Day 4: Planting, aka The Big Show. We went deep on cherry tomato purchases, so we built a trellis inspired by one I spotted on BLUR Designs using bamboo garden stakes & garden twine. It took us 20 minutes, tops, and looks rather pretty, I think. We planted a cherry tomato plant at the base of each stake & trained them to the stakes using more garden twine. We filled the other bed with peppers & herbs, taking care to plant the rosemary (a notorious garden hog) in a separate pot, which is both practical & added appealing height to the bed. The raspberry & blackberry bushes went into large, sturdy terracotta pots anchoring the garden.

Creating this garden with my son was in every way the mother-son bonding experience we needed. Connecting with him has been a struggle lately, his tween boy angst proving far more intractable than my daughter’s relatively drama-free tween years. Hard, physical labor & problem solving together on the fly was profoundly impactful, healing even. I already promised to send him progress pictures at sleep-away camp & if I can keep the rabbits at bay, he should return home just in time to harvest his very first raspberry crop.